Create an Event

This article contains instructions on how to create an event on TrackitHub.
- There are two methods for creating an event. For the first method, on the dashboard under the Events tab, click on Create Event. For the second method, on the group card, click the three vertical dots in the top right corner of the group card, then click Create Event
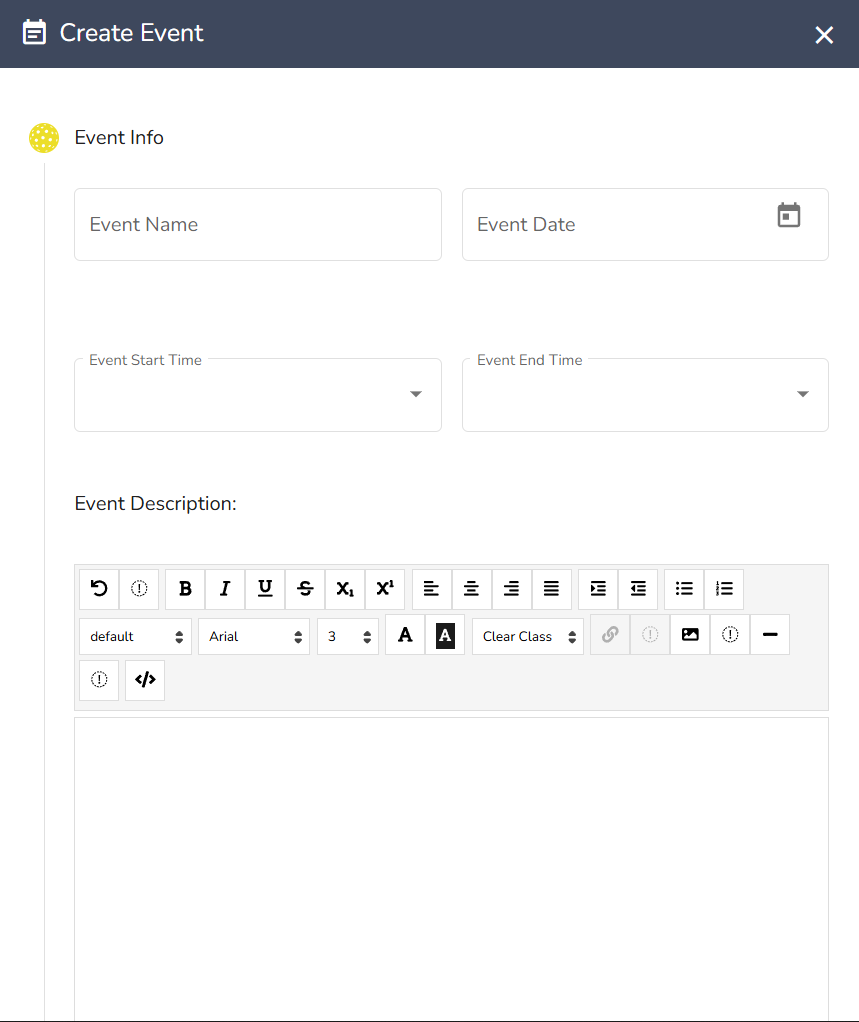
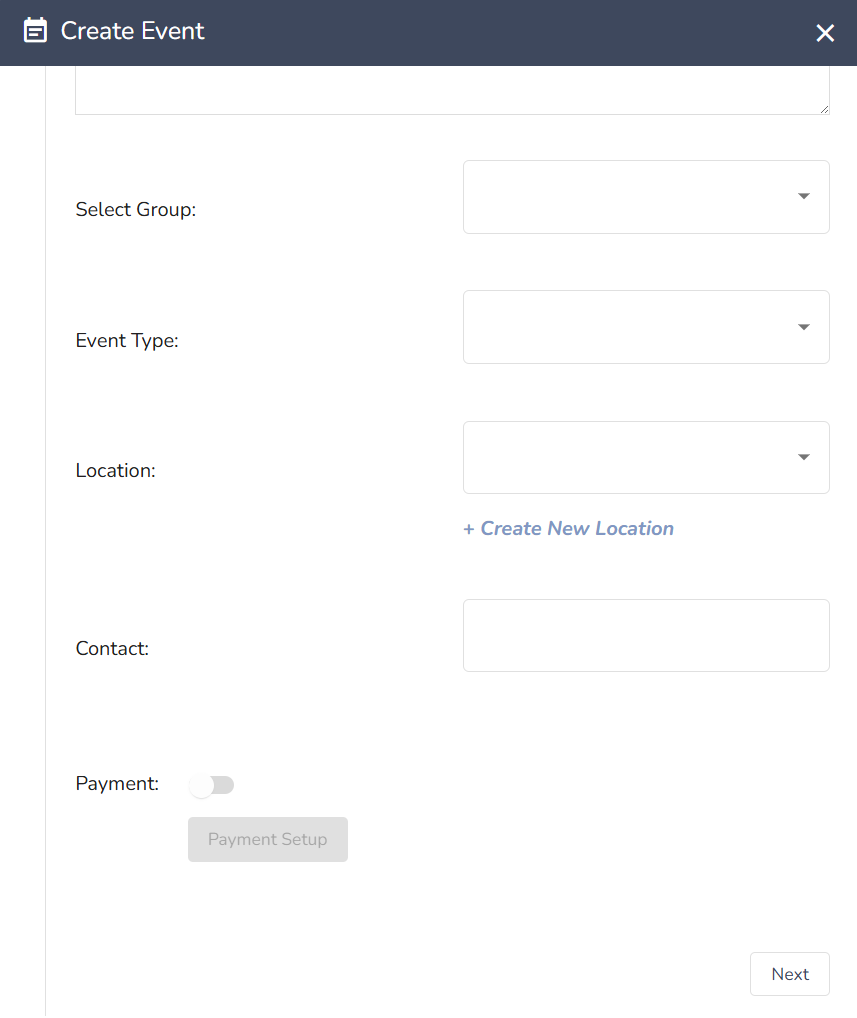
- There are four sections to fill out when creating an event, the first is Basic Info. This includes information such as the name, time, and date of your event. All fields in this section are mandatory and you cannot create the event until are fields have been filled in.
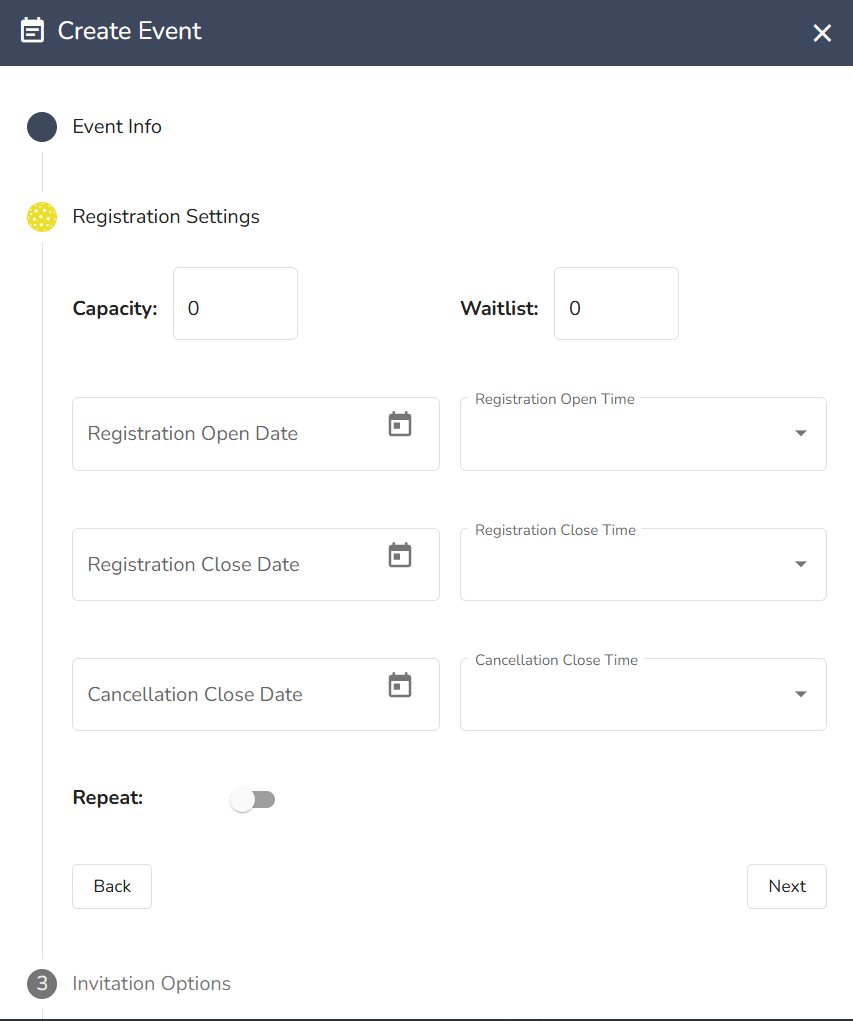
- The next tab is Registration Settings where you set the maximum capacity for your event, the waitlist size, and when registration and cancellation deadlines are. You can also make the event repeat if it is happening multiple times. All fields must be filled in in order for you to continue.
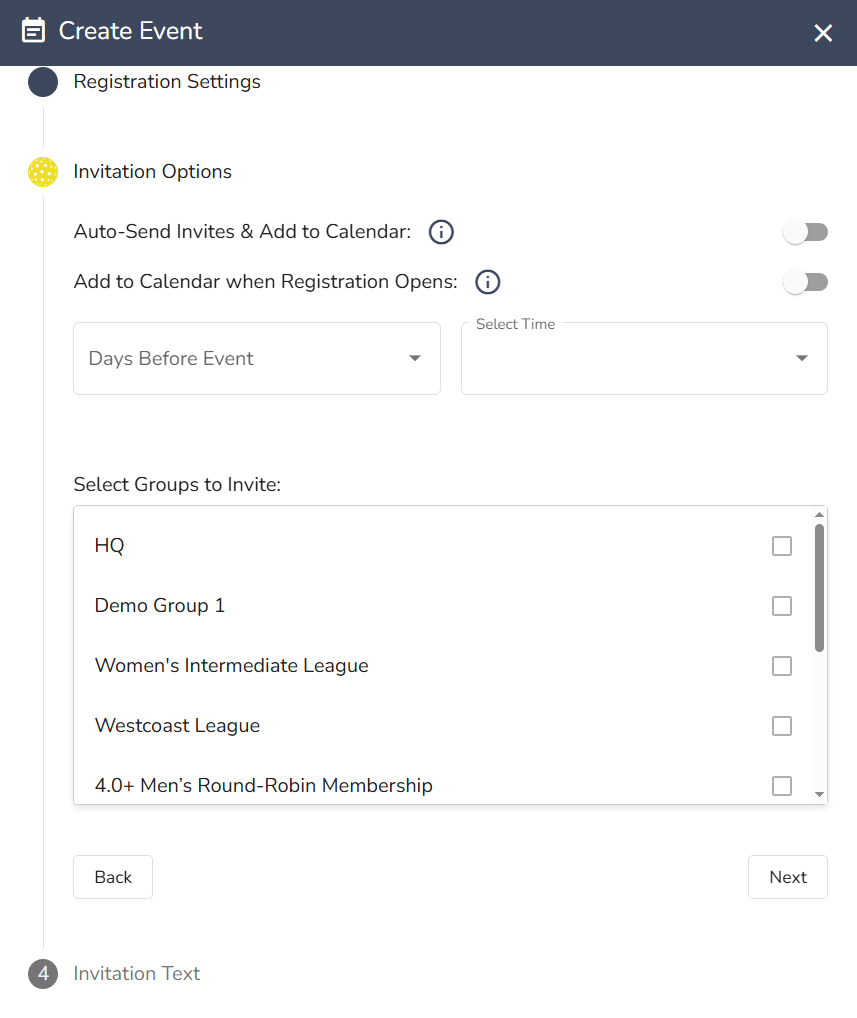
- After that, we have the Invitation Settings section where you decide when and how invites are sent out to your group. You can have invites automatically sent a certain number of days before an event or have the event added to the invitees' calendars when registration opens. You must select which groups you are inviting and you must invite at least one group.
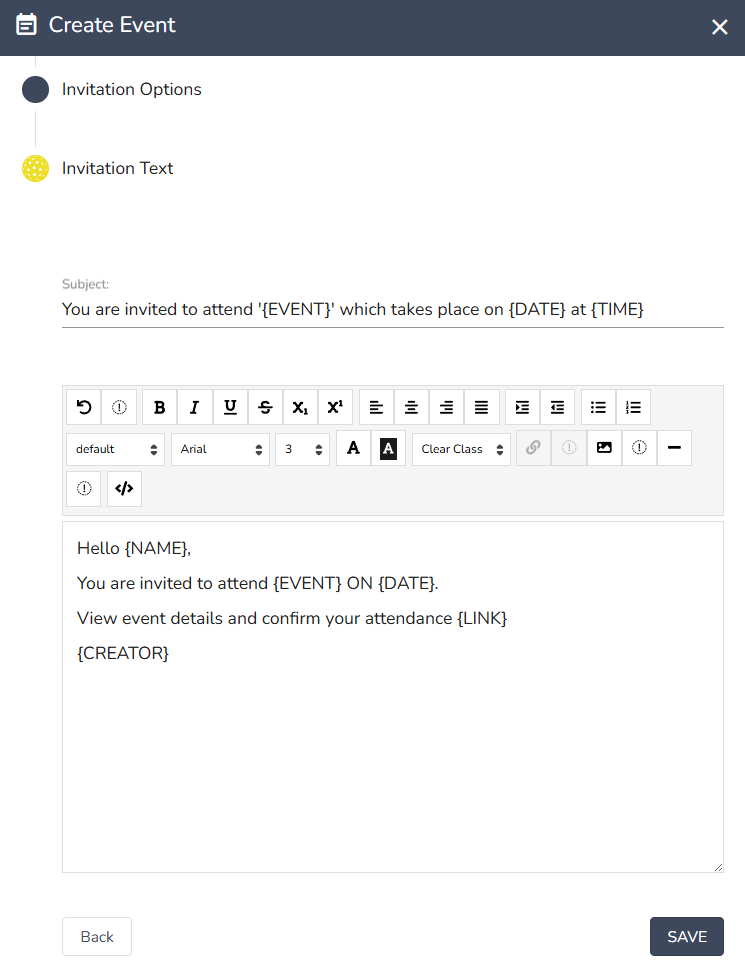
- Last is the Invitation Text section where you can customize the invitation message or use the default message.
- After clicking Save the event will be viewable on your calendar.
Comments
0 comments
Please sign in to leave a comment.