Create Group

This article contains in-depth instructions on how to create a new group from your TrackitHub account.
- To start, log in to your TrackitHub account. Once you log in and arrive at the dashboard, on the left column find "Create Group". Upon clicking "Create Group" a form will pop up, there are three sections on the form.
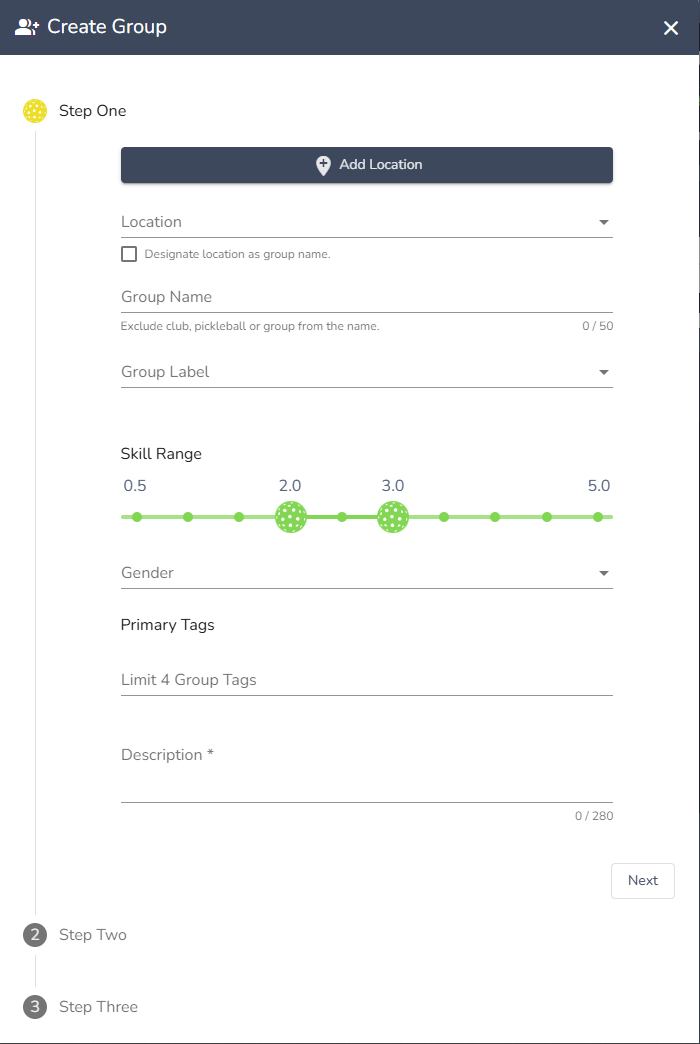
2. Step one is where you input the information about the group such as the name, location, skill range, and description.
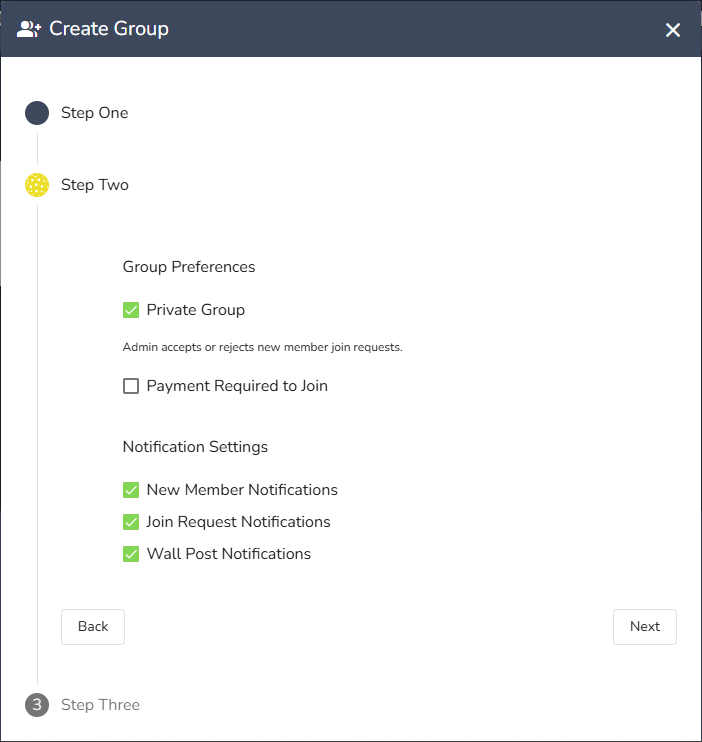
3. Step two is where you set the settings for the group such as if it's private, if there's payment required to join, and the notification settings.
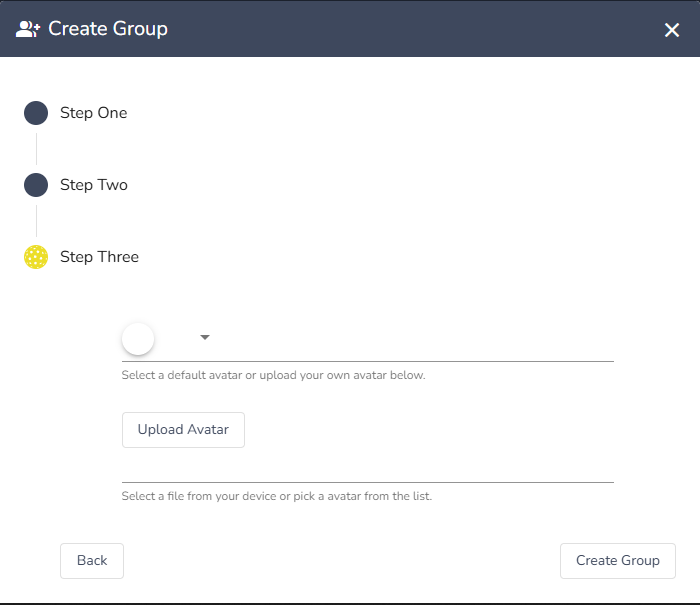
4. Step three is where you select an avatar for the group, you can choose from any of the default TrackitHub options or upload your own. If you try to upload a file and after selecting it from your file explorer it doesn't work, it probably is an incompatible file type. Compatible file types include jpg, jpeg, and png.
5. If you leave any of the required fields blank, clicking "Create Group" will not create the group but instead create a yellow banner at the top of the screen, reminding you to fill out all of the required fields. Take a look back at the previous steps and ensure that you have filled out all of the required fields correctly.
When the group has been successfully created, a green banner will appear at the top of the screen that reads "Group has been updated" and it should appear in the "My Groups" panel of the dashboard in a new group card.
Thanks for reading! If you have any questions regarding the content of this article or any questions about the TrackitHub system, feel free to submit a support ticket and we'd be happy to answer any question you might have. See you on the court!
Comments
0 comments
Please sign in to leave a comment.